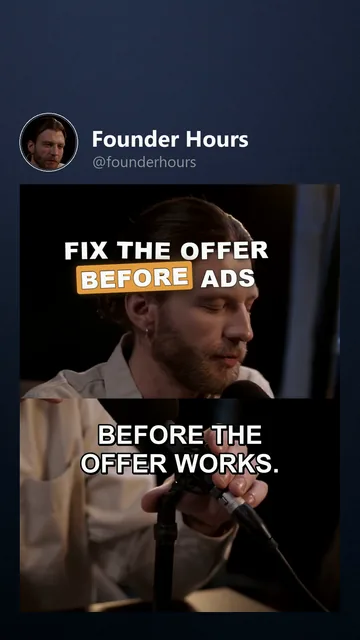
Build your first stack
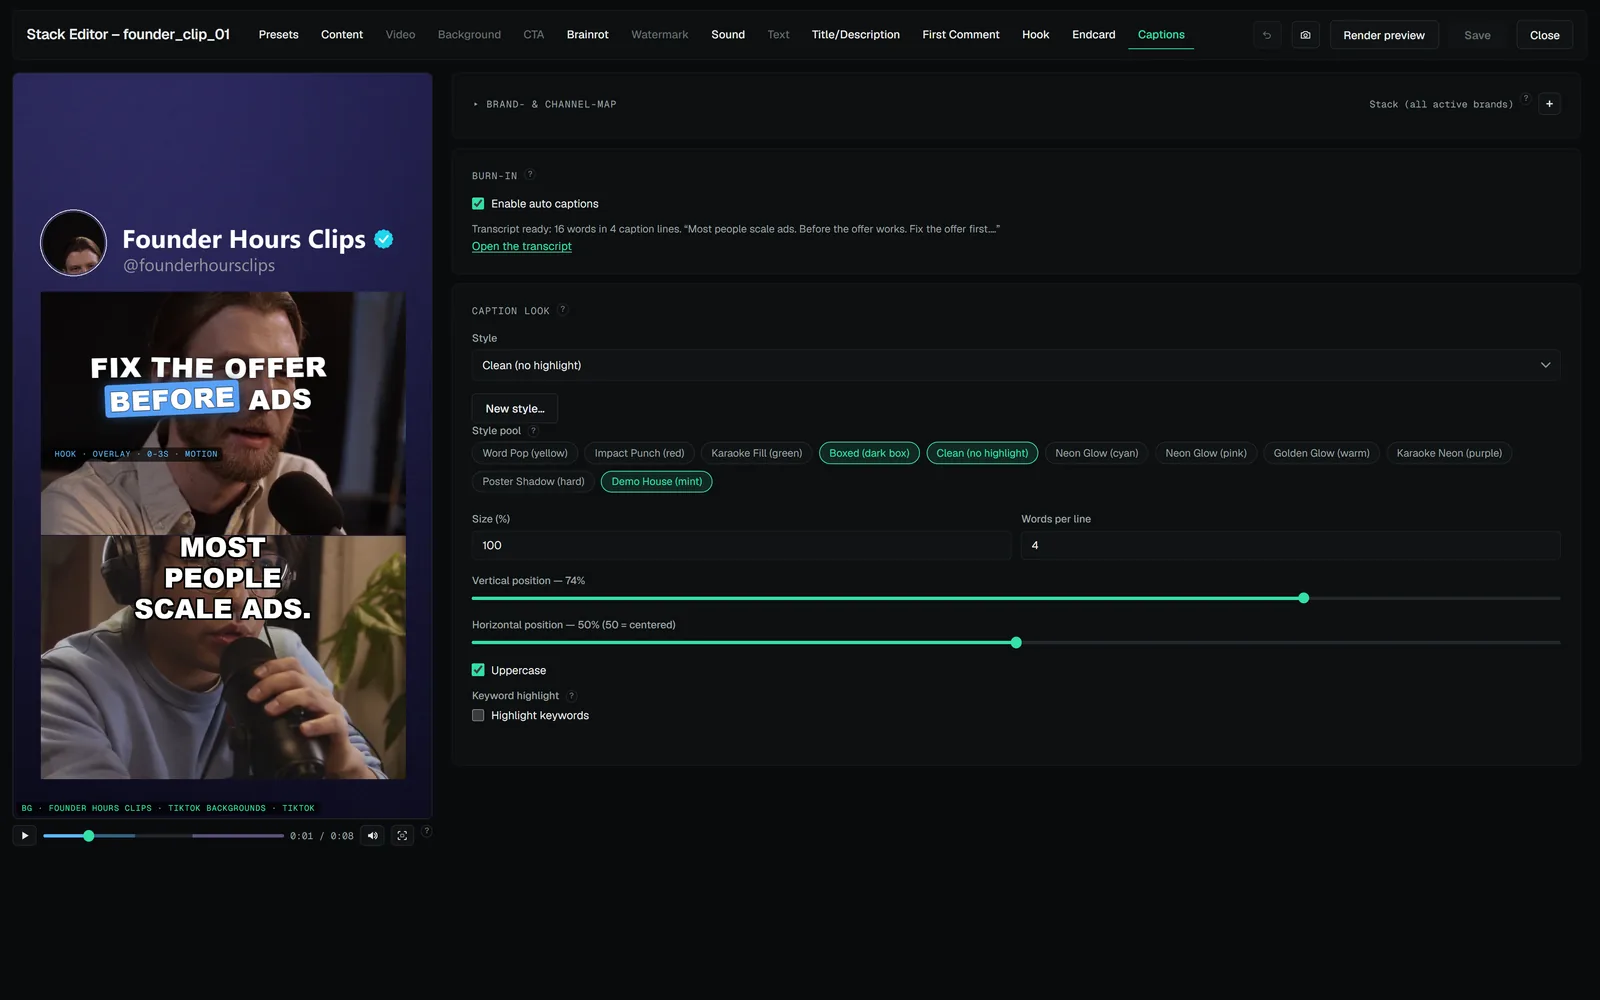
- In the stack pool, create a stack and open it. The editor opens with the preview canvas on the left and the tabs on the right.
- On the Content tab, assign your clip as the main content — from a file, or straight from the inbox folder.
- Drag the clip on the canvas to position it; scale it with the mouse wheel or the corner handles. What you see is what renders. Ctrl+Z undoes any step.
- Optional, but worth it on the first run:
- Add a background (image or video) behind the clip if it doesn't fill the frame.
- Click Transcribe now on the Content tab for auto captions. The bundled speech model runs on your machine — free, nothing uploaded. Style the result on the Captions tab.
- Add a hook line on the Hook tab — the text that opens the video.
- Pick the brands this stack renders for.
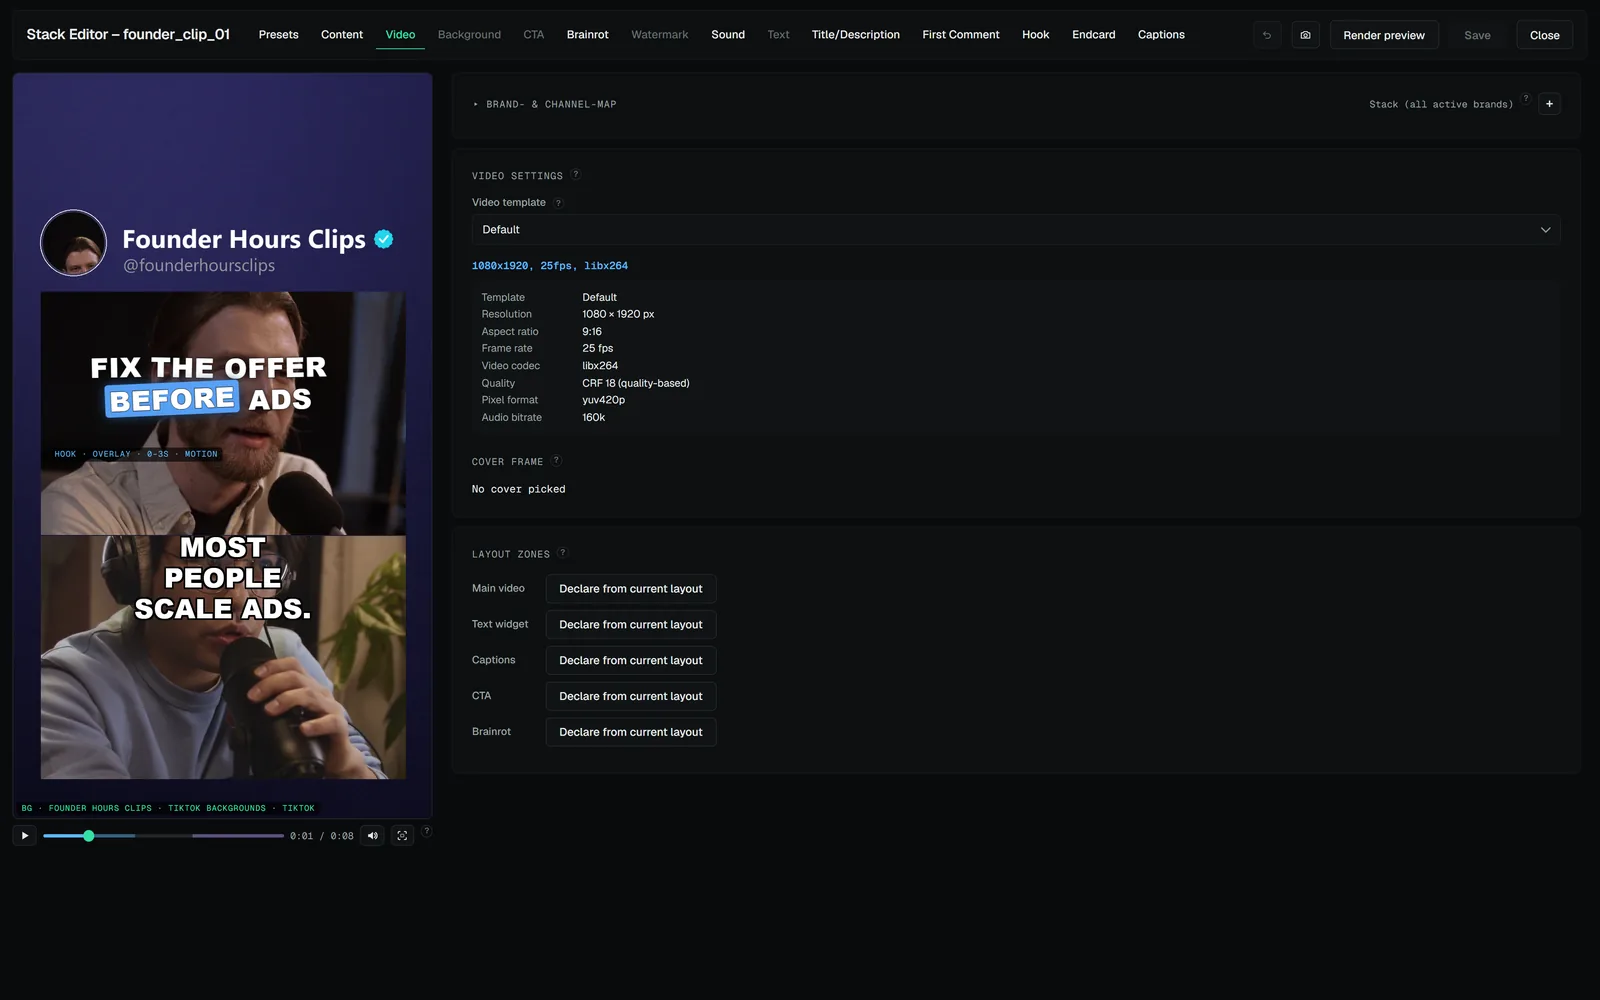
Press play under the canvas to watch the whole thing — captions, overlays and all — before rendering a single frame. Render preview in the header shows one variant exactly as the final file will look.
TIP
Want titles and descriptions written for you? The Content tab has a briefing field and Generate buttons (needs your own AI key — see AI setup). You can also just type your texts on the Title/Description tab. Both work.
RELATED · GETTING STARTED