Render
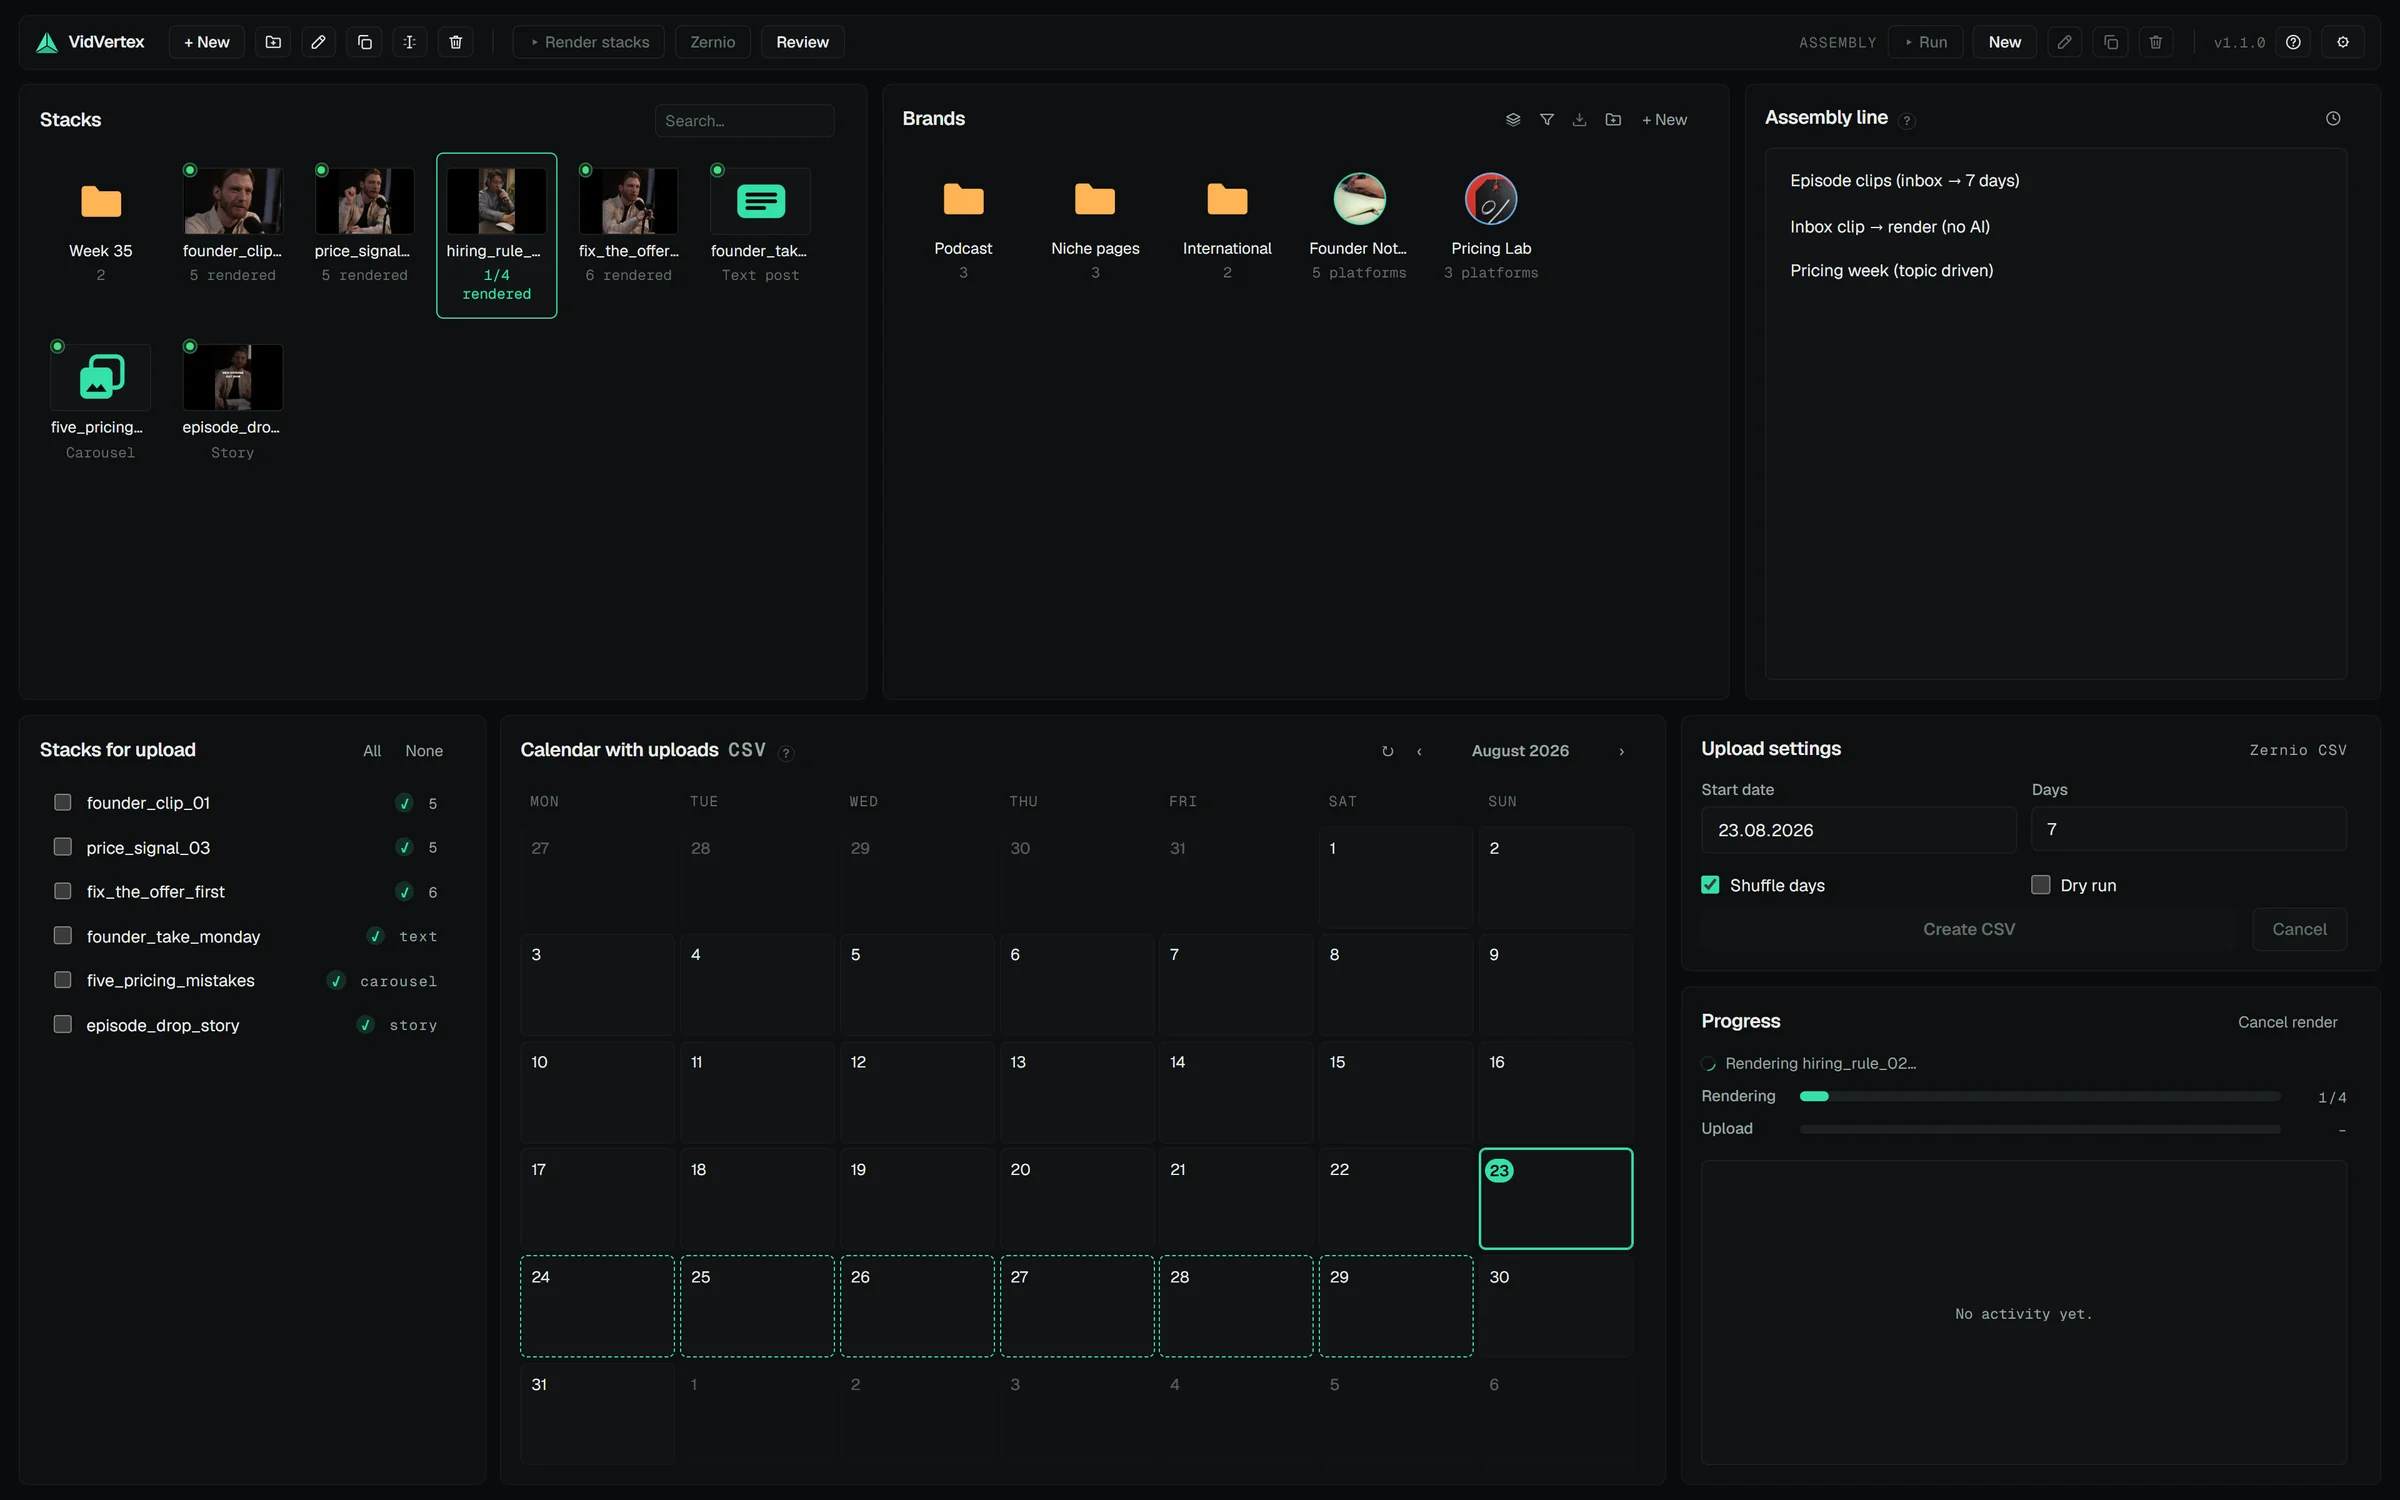
- Back in the hub, select your stack and start the render. A confirmation lists anything worth knowing first (a speech model that would download once, for example).
- The render queue shows progress per variant. Each brand × platform combination becomes its own file — with that brand's logo, assets and caption style, loudness-normalized audio, and the randomizer's subtle per-file variations already applied.
- Finished files land in the stack's
rendered/folder; the stack tile shows the count.
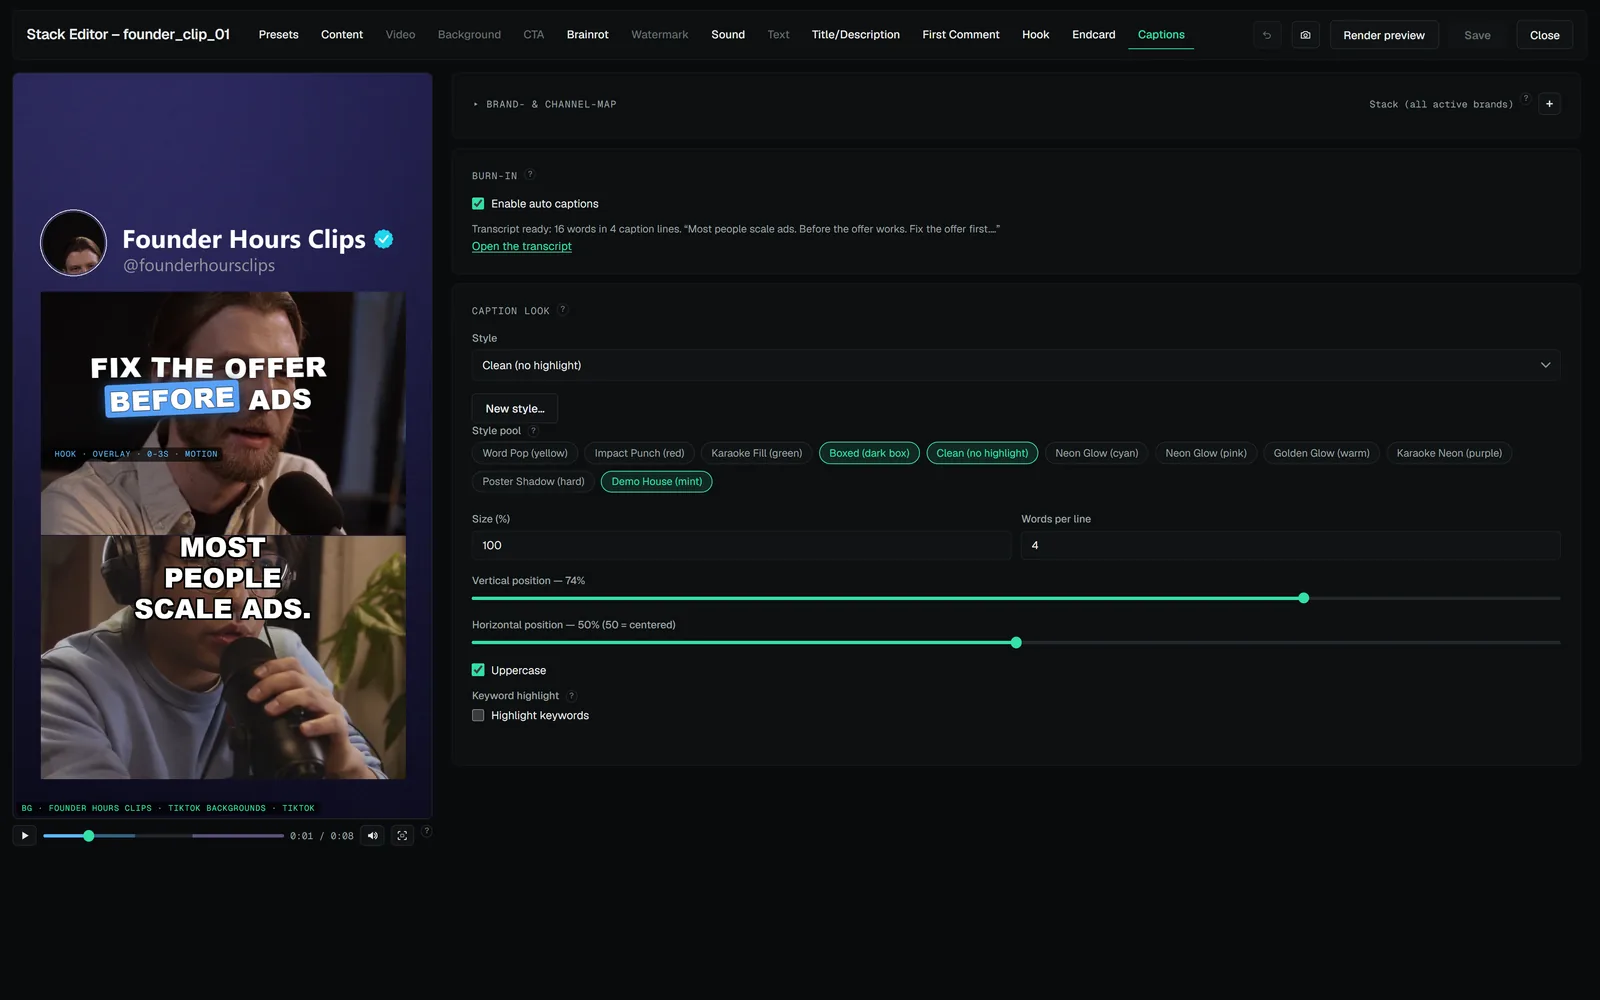
First renders are a good moment to check the result: open the rendered file and look at it once. If something sits wrong, fix it in the editor and re-render — only what changed is rendered again.
RELATED · GETTING STARTED DOCS · GETTING STARTEDPost itFour upload modes: Zernio API, Zernio CSV, Metricool API, Metricool (Drive + CSV).DOCS · GETTING STARTEDWhere to go from hereMore brands: every brand you add multiplies the render — same stack, more outputs.
 DOCS · GETTING STARTEDBuild your first stackA stack is one post's layout: the clip, what sits around it, the captions and the hook.
DOCS · GETTING STARTEDPost itFour upload modes: Zernio API, Zernio CSV, Metricool API, Metricool (Drive + CSV).DOCS · GETTING STARTEDWhere to go from hereMore brands: every brand you add multiplies the render — same stack, more outputs.DOCS · GETTING STARTEDBuild your first stackA stack is one post's layout: the clip, what sits around it, the captions and the hook.