Create the OAuth client
- Open the Google Cloud Console (console.cloud.google.com) with the Google account whose Drive should host the files. Create a new project (any name, e.g. "VidVertex uploads").
- APIs & Services → Library: search Google Drive API and Enable it.
- APIs & Services → OAuth consent screen: choose External, fill in the app name and your email, save.
- Stay on the consent screen, open Audience and click Publish app,
then confirm. Do not leave the client in Testing: Google expires the
refresh token of a testing client after seven days, and from then on
every upload run stops with "Google Drive is not connected". Publishing
needs no Google review and no security assessment here — VidVertex asks
only for the
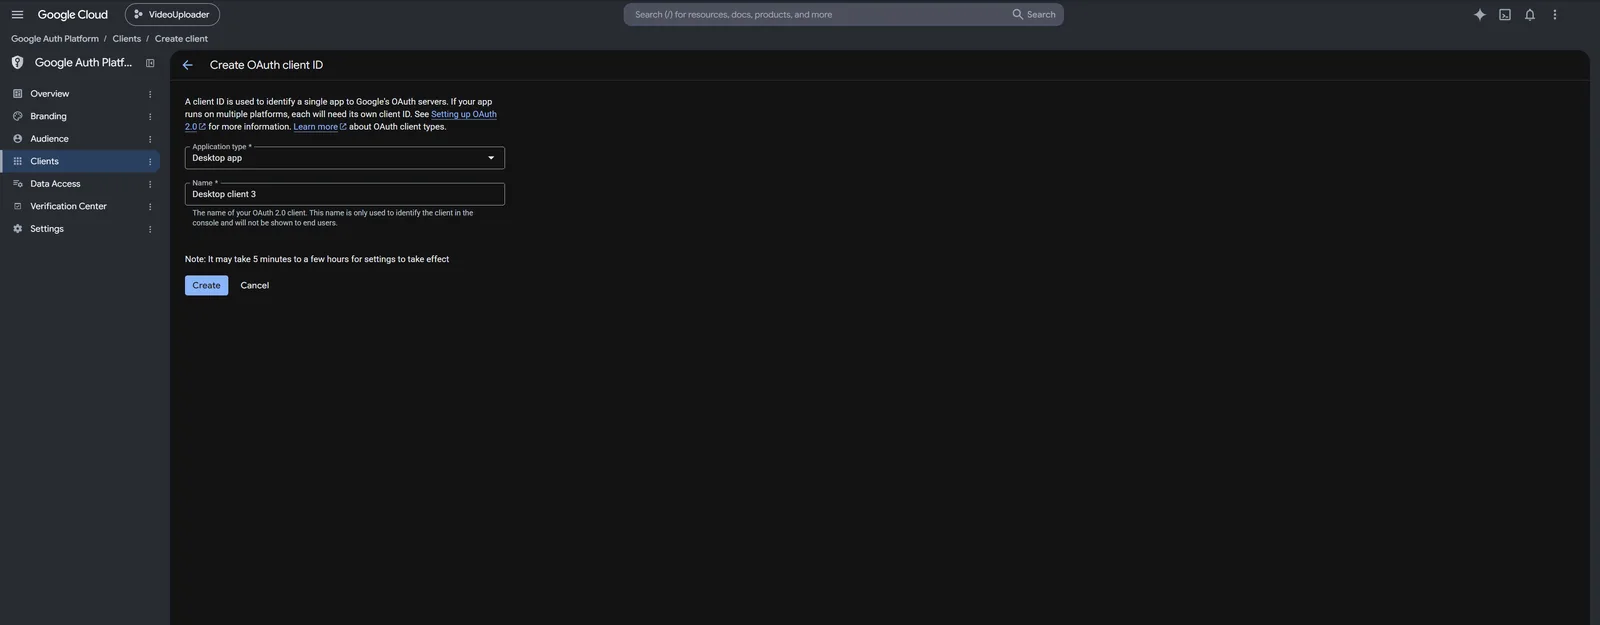
drive.filescope, which Google classes as non-sensitive because the app can see nothing on your Drive except the files it created itself. (Adding yourself under Test users is only worth it if you deliberately want to keep the client unpublished for a day or two of testing; it is not a setup you should stay in.) - APIs & Services → Credentials → Create credentials → OAuth client ID:
application type Desktop app. Create, then Download JSON. That file
is your
credentials.json— keep it somewhere permanent (your data folder is a good place).
NOTE
The consent screen may warn that the app is unverified, published or not. That's expected — it is your own client, used only by you. Click through "Advanced → go to …".